
Core work for wrestlers is not a contest to see who can do the most sit-ups. It is the quiet strength that helps you hold posture in a tie, stay connected through a shot, keep your base when someone is trying to move you, and put force from the mat through the rest of your body. When your trunk loses position, your hands, hips and feet often lose it a moment later.
The useful version of core training is simple: choose movements that teach you to brace, breathe and control the shape of your body. Do them slowly enough to notice when your low back arches, your ribs flare or your hips twist. Then build from there. You do not need an exhausting ab finisher before every practice. You need a few repeatable exercises that make good wrestling positions easier to keep.
This guide is a starting point for athletes, parents and coaches. It is general training guidance, not a substitute for a qualified coach, athletic trainer or medical professional. If a movement creates pain, numbness, dizziness or a sharp pull, stop and get individualized advice instead of trying to push through it.
What core strength means on the mat
Your core includes more than the muscles you see in a mirror. It is the trunk working with the hips, shoulders and breathing to keep force moving in the direction you want. A clean penetration step needs the torso to stay connected as the legs drive. A sprawl needs you to keep the hips heavy without folding through the low back. A stand-up and a finish both ask you to resist someone else pulling you out of position.
That is why a wrestler usually benefits from several kinds of core work: resisting extension, resisting rotation, resisting a side bend, and controlling the body while moving. The USA Wrestling core curriculum puts stance, motion and penetration before more complex positions. Use the same logic in the weight room. First own the shape. Then add a little challenge. Only then make it faster or heavier.
The exercises below are not secret moves. Their value comes from doing them with intent. Use a pace where you can breathe quietly, keep your neck relaxed and finish each rep in the same position you started. If that shape fades, shorten the set, make the lever easier or stop for the day.
1. Dead bug: connect ribs, hips and breath
Lie on your back with hips and knees bent, feet off the floor and arms toward the ceiling. Gently press the low back toward the mat without smashing it down. Exhale, then slowly reach one arm overhead as the opposite leg extends. Return with control and switch sides. The goal is not to reach as far as possible. The goal is to keep the ribs from popping up and the pelvis from tipping forward.
Start with two sets of five controlled repetitions per side. If the low back starts arching, keep the knee more bent or shorten the arm reach. This is a useful early choice because it teaches the bracing you need before adding harder planks, carries or rolling patterns. It also gives an athlete an honest check: can the trunk stay still while the limbs move?

2. Side plank: resist the side bend
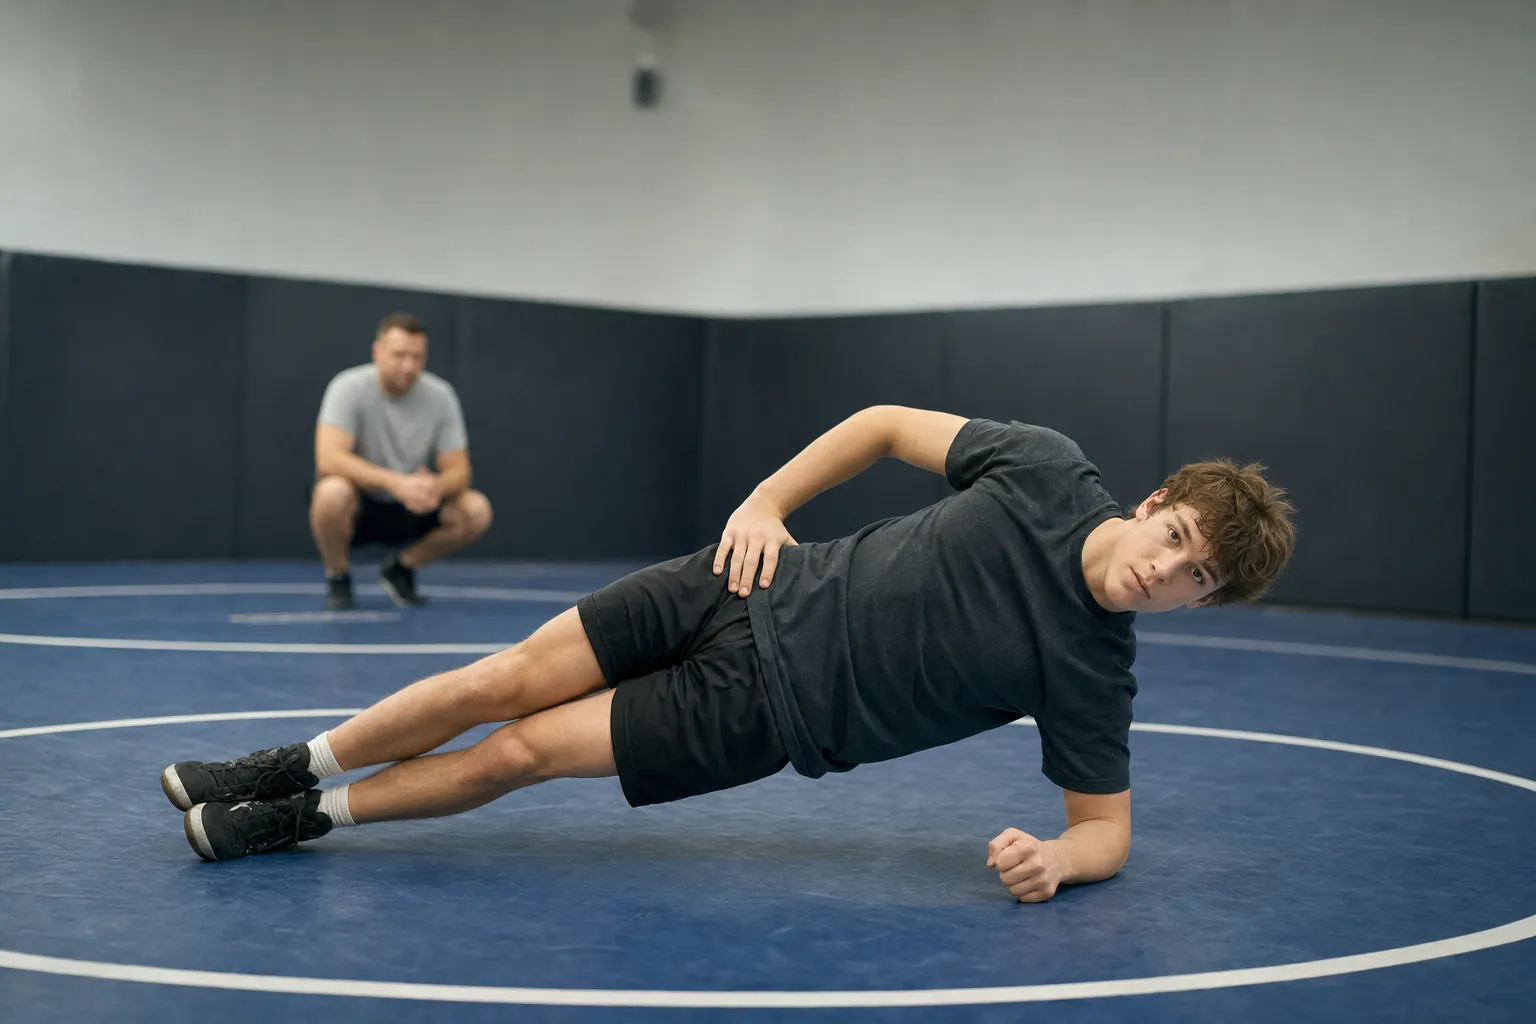
A side plank is a direct way to practice staying long and stacked when a force wants to fold you sideways. Set the elbow under the shoulder, make a straight line from shoulder to ankle and squeeze the glutes lightly. A strong hold should feel like the side of the trunk is working, not like the shoulder is jammed into the ear.
For a first version, bend the bottom knee and hold for 15 to 20 seconds per side. Progress to a full side plank only when the hips stop sagging and the top shoulder stays stacked. Three clean holds per side are more useful than one long wobbling set. On the mat, this control can support the posture you need when an opponent is pulling you off line in a tie or when you are trying to keep a strong base.
3. Bear crawl: move without losing your frame
Bear crawls train the trunk while the hands and feet travel, which is closer to wrestling than lying still for every rep. Start on hands and toes with knees hovering just off the mat. Keep the back flat, move the opposite hand and foot together, and take small quiet steps. Your hips should not rock side to side or race ahead of your shoulders.
The USA Wrestling drills curriculum includes bear crawls and sideways plank walks among its core and coordination patterns. That is a useful reminder that core work does not have to happen on a machine. Two or three trips across a mat, each about five to eight slow steps, are plenty when the position stays sharp.

4. Half-kneeling anti-rotation hold: do not let the band turn you
Set a light resistance band at chest height. Kneel on the knee closest to the anchor, bring the other foot forward and squeeze the glute of the down knee. Hold the band at your chest, step or shuffle away until there is gentle tension, then press the hands straight out and pause. The band will try to rotate you toward it. Your job is to keep the ribs and hips facing forward.
Use two or three sets of six to eight slow presses per side, or short 10 to 15 second holds. The load should be light enough that the athlete can stay tall. If the torso turns, the front knee caves inward or the athlete leans away from the band, reduce tension. This is not a test of who can use the heaviest band. It is practice at keeping an honest position against a pull.

5. Front plank shoulder tap: own the weight shift
Start in a high plank with hands under shoulders and feet wide enough that you can stay steady. Tap one hand to the opposite shoulder, return it quietly, then switch. The challenge is not the tap. It is preventing the hips from shifting hard from side to side each time a hand leaves the floor.
Begin with five taps per side and move slowly. A wider foot position makes the drill easier. A narrower stance makes it harder, but only use it when the athlete can keep the pelvis level. This drill has a useful place after athletes have learned a basic plank because it adds a small, controlled shift in support without turning the set into a race.
6. Carry one load with purpose
A suitcase carry is walking with a dumbbell, kettlebell or other manageable load in one hand while staying tall. Keep the shoulders level, walk slowly and avoid leaning away from the weight. The free hand can stay relaxed at your side. The goal is to make the body resist the pull without stiffening the neck or taking huge steps.
For athletes with appropriate coaching and equipment, two short carries of 15 to 25 yards per side can be enough. The carry fits naturally alongside the broader wrestling strength training guide, where lower-body force, pulling and trunk work all support a more durable athlete. Do not add carries to a packed workout just because they look sport-specific. Use them when they fit the athlete's current strength plan and recovery.
7. Bridges belong to controlled practice, not a neck-strength contest
Wrestling bridges can be valuable when a coach has taught the position and the athlete can do it on an appropriate surface. The neck stays long, the weight is shared through the shoulders and feet, and the athlete never cranks into an extreme position to prove toughness. A bridge is not the right starting point for every athlete, especially someone with neck pain, a recent injury or no qualified instruction.
When in doubt, choose another trunk exercise and bring the question to a coach. The same rule applies to all youth strength work. The National Strength and Conditioning Association's youth resistance-training guidance emphasizes age-appropriate programming, qualified supervision and gradual progress. Good core work should make practice feel more stable, not add an avoidable injury risk.
Use a 12-minute wrestling core circuit
This short circuit can fit after a strength session or on a lighter training day. It is not meant to replace drilling, live wrestling or a coach's individual plan. Keep the total work small enough that the next practice still gets your best attention.
Round one: control on the floor
Five dead bugs per side, followed by a 15-second side plank on each side. Rest, then repeat once if both positions stayed clean.
Round two: control while moving
Two short bear-crawl trips with quiet steps, then five shoulder taps per side. Widen the feet or shorten the distance if the hips start rocking.
Round three: resist the pull
Six anti-rotation presses per side or a 10-second hold per side. Finish with one short suitcase carry per hand if coached equipment is available.
Finish: take one cue back to practice
Choose one detail, such as ribs down, hips level or quiet steps. Carry that detail into stance, a sprawl or the next live round instead of treating core work as a separate sport.
For young athletes, a little goes a long way. The U.S. Department of Health and Human Services includes muscle-strengthening activity on at least three days a week in its physical activity guidance for children and adolescents. Wrestling practice, bodyweight movement and supervised strength work can all contribute, so there is no prize for adding a punishing core circuit every day.
Make the work carry over
The best sign that this work is helping is not a sore set of abs. It is cleaner posture late in practice, a steadier base when hand fighting and a better ability to keep moving after a hard exchange. Let a coach help you connect the exercise to a position you are already working on. If your stance rises when you get tired, notice whether better bracing helps your hips stay underneath you. If your shots fold forward, use the dead bug and plank patterns to practice a more connected shape.
Hands Raised is built around the work that does not always get a highlight. A few controlled reps, repeated over time, can make the next practice more useful. Pair this guide with the wrestling warm-up guide before practice, the wrestling conditioning guide when you are planning your week, and Athlete Spotlight for stories from people who keep showing up for the next round.
Frequently asked questions
What are the best core exercises for wrestlers?
The best wrestling core exercises teach an athlete to keep the trunk steady while the arms and legs move. A dead bug, side plank, bear crawl, controlled carry, anti-rotation hold and a well-coached bridge all have a place. Choose the versions you can own with good posture rather than chasing the hardest variation.
Should wrestlers do sit-ups every day?
Not necessarily. Sit-ups are one option, but wrestling asks the trunk to resist being bent, twisted or pulled out of position too. A few focused core sessions each week, built around varied movements and clean technique, are more useful than a large daily count of rushed repetitions.
How often should wrestlers train core?
Two or three short core blocks each week is a sensible starting point for many athletes. Those blocks can be added after a strength session or inside a warm-up. Keep the dose modest enough that it supports wrestling practice instead of making the athlete sore and slow.
Can young wrestlers do core exercises?
Yes, when the movement is age-appropriate and supervised as needed. Start with bodyweight positions, short holds and simple crawling patterns. The priority is learning control and breathing, not loading a young athlete with advanced exercises or fatigue for its own sake.
Related posts
Wrestling training
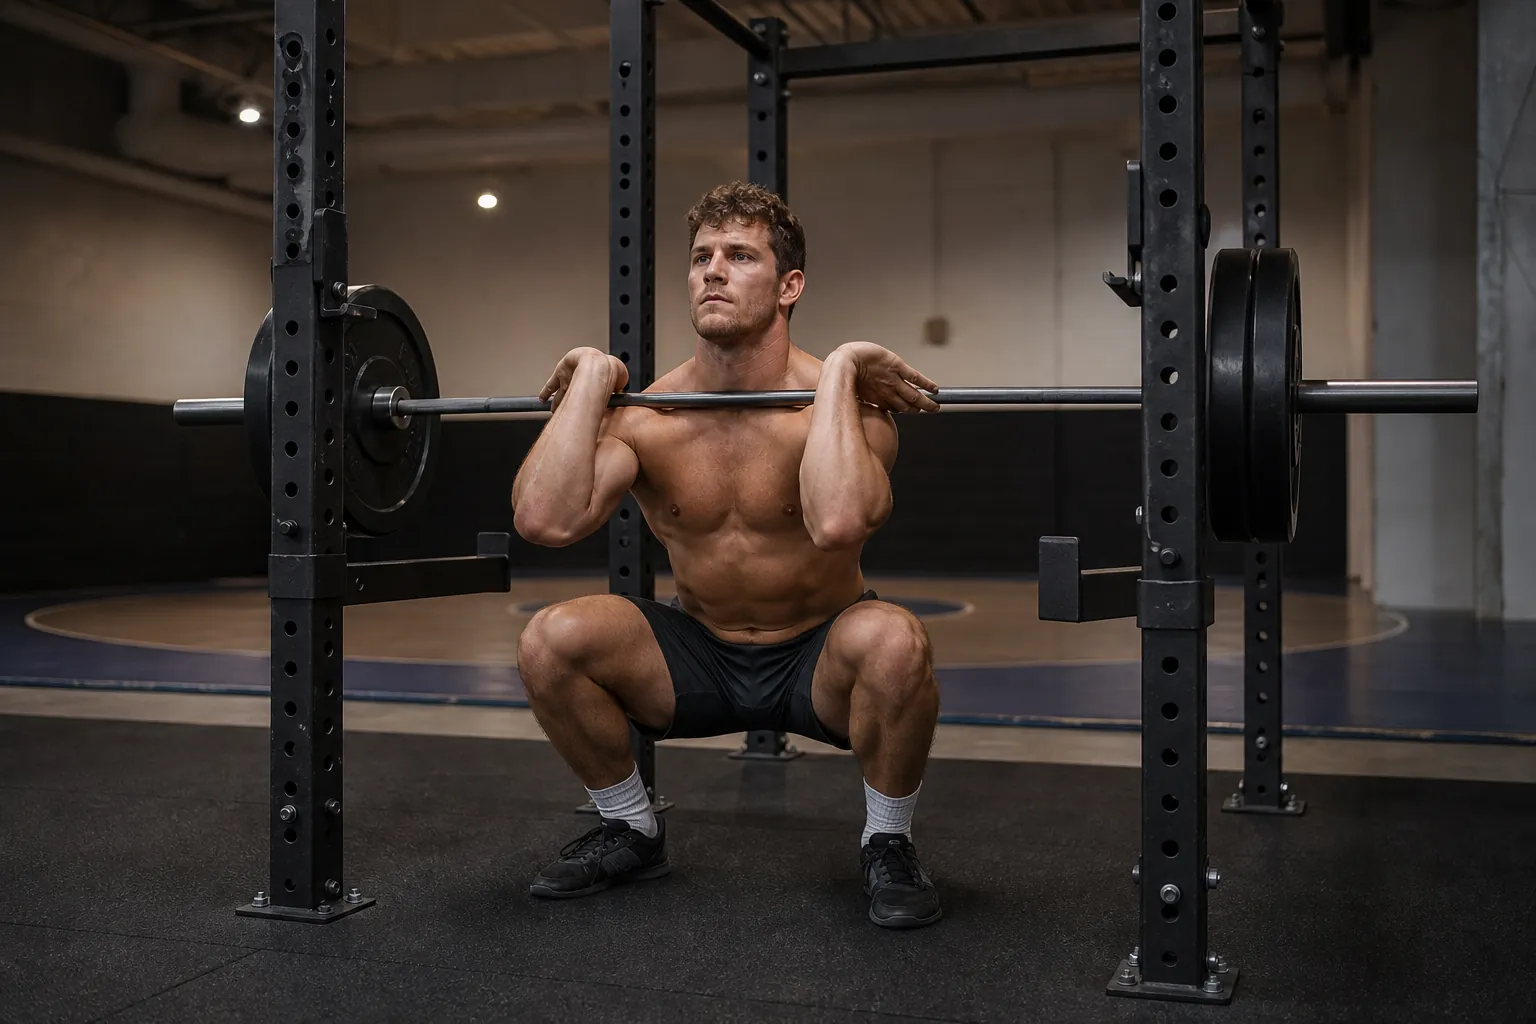
Wrestling Strength Training: Build Power That Carries Over
A practical strength-training guide for wrestlers, with exercise priorities, weekly structure and in-season adjustments.
Read the guide →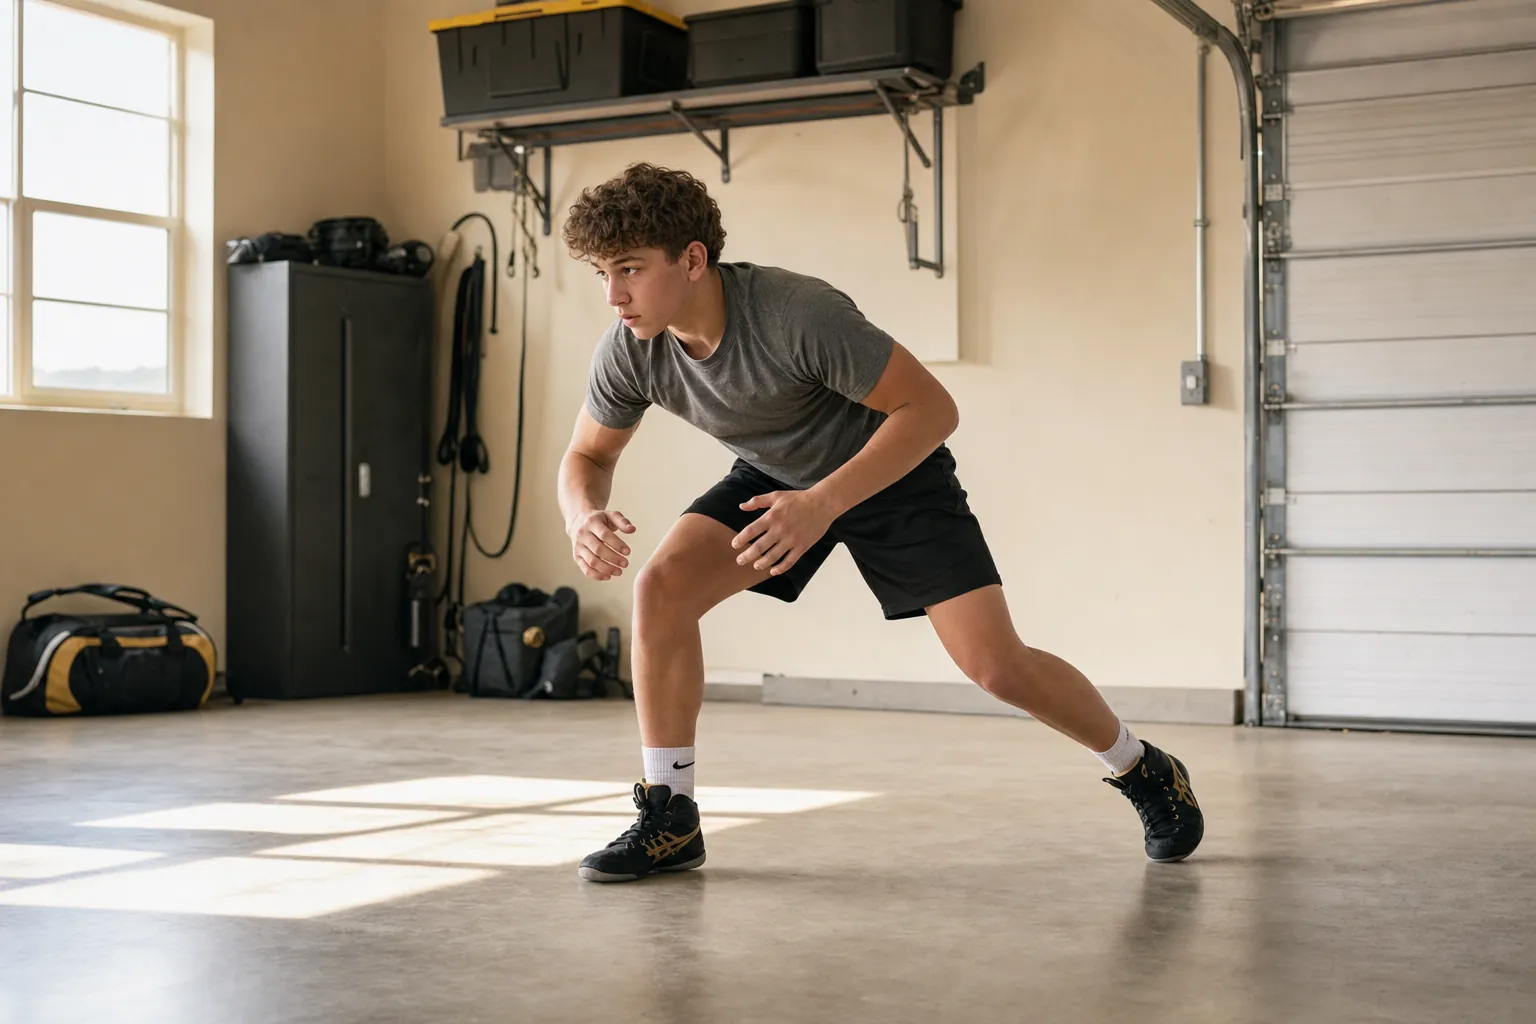
Wrestling training
Wrestling Drills at Home: 8 Safe Solo Reps
Eight safe solo wrestling drills for building stance, movement, entries and body control in a clear space at home.
Read the guide →