

A wrestling stance is not a pose you hold until the whistle. It is the position that makes the next move possible. A useful stance lets you attack without reaching, defend without standing straight up, clear a tie without losing your feet and recover after a scramble without giving away the next score.
That is why stance work deserves more respect than it usually gets. It can look basic beside a big throw or a hard finish, but the wrestler who stays balanced and ready creates more chances to use every other skill. The goal is not to look perfectly low for a photo. It is to build a position you can use while somebody is pulling, pushing, faking and making you move.
This guide gives wrestlers, parents and coaches a simple starting point for building a stronger stance. It is general training guidance, not a substitute for qualified coaching or care after an injury. Use it to sharpen the details, then let your coach help you fit them to your style and rule set.
Start with a stance you can move from
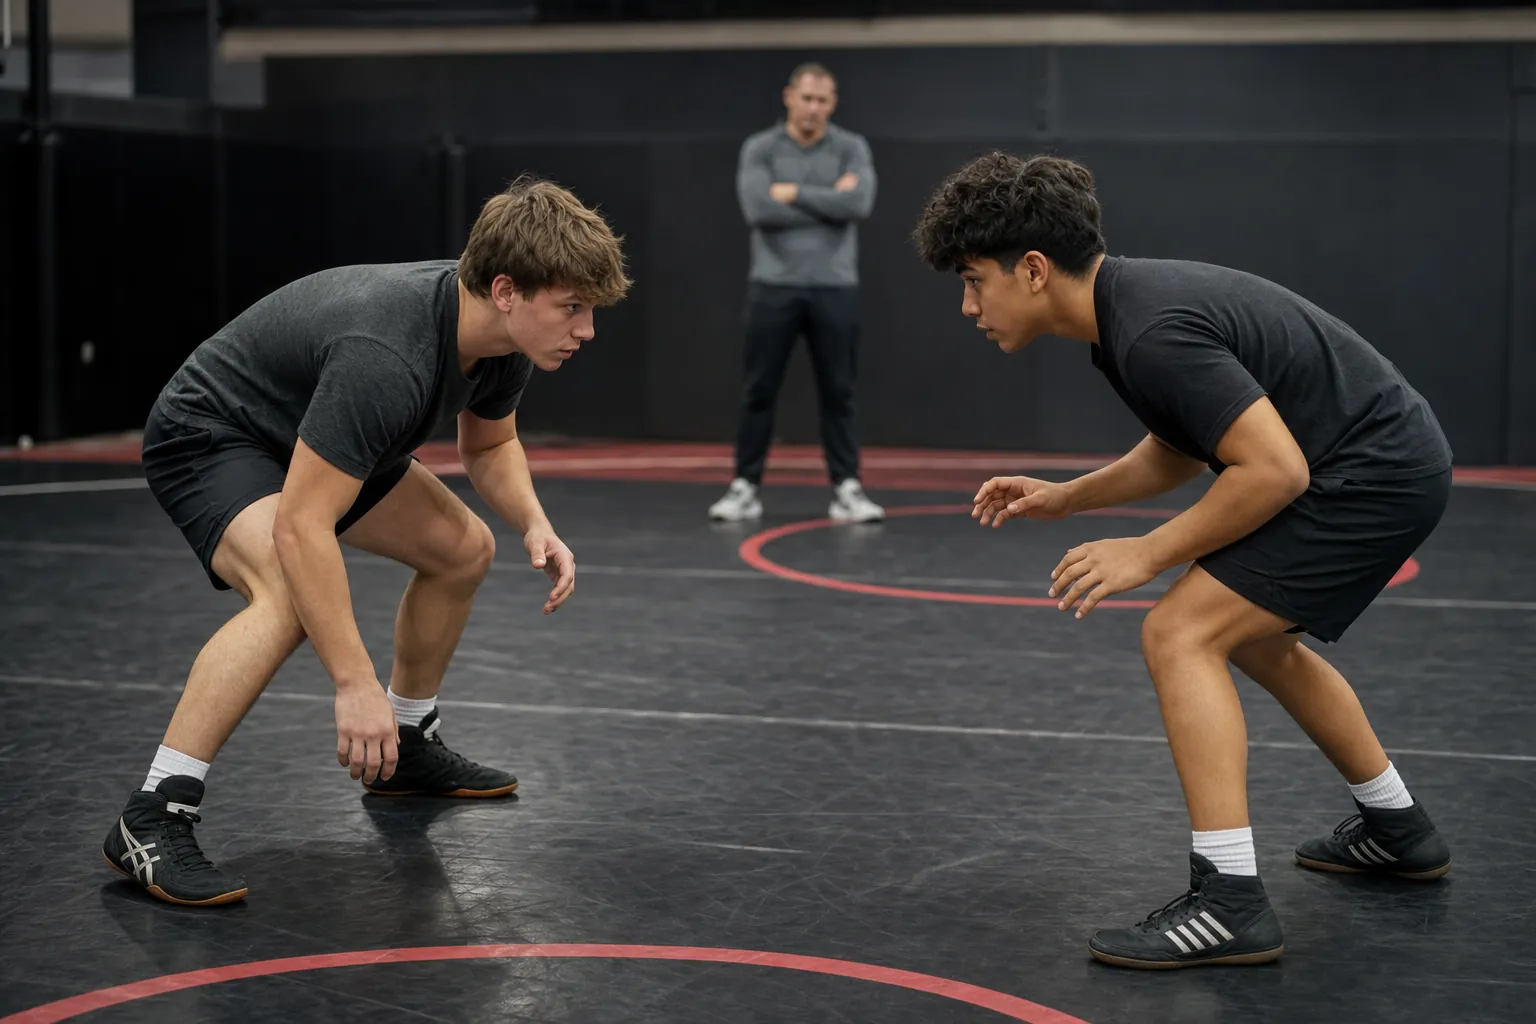
Most wrestlers begin with a staggered stance: one foot slightly forward, feet about shoulder-width apart, knees and hips bent, chest up and hands in front. Your weight should feel spread through the middle of each foot, not trapped on the toes or sitting back on the heels. Think ready, not frozen.
The feet give you a base, but the whole body has to agree with them. If the hips stay high, the legs cannot drive well. If the chest folds forward, the eyes fall and the opponent gets easier access to your head. If the hands hang low, you give up the space where you could block, touch, post or create a tie. A useful stance keeps the head, hands, hips and feet connected.
The USA Wrestling core curriculum puts position and motion before attacks and situations for a reason. Before a wrestler can make a clean shot, they need a base that can change direction, level change and react. The same sequence makes sense in practice: own the starting position, then add movement, then add contact.
Find the right height, not the lowest height
“Get lower” is a useful cue only until it becomes a contest. A stance that is too tall leaves the legs exposed and makes it easy to be moved. A stance that is too low can lock up the hips and turn every step into a slow squat. The right height lets you bend through the ankles, knees and hips while keeping your chest up enough to see what is coming.
Try this test. Set your stance, take three small steps forward, then three steps back. Change direction to each side. If you have to rise before every step, you are probably sitting too low or too far behind your feet. If your knees barely bend and you feel like you could be pushed over with one strong pull, you are likely too tall. Adjust a little, then move again.
Distance changes stance height too. From farther away, you may stand a little taller so you can cover ground. When a partner gets close enough to threaten a tie or a shot, your level usually comes down and your hands become more active. The answer is not one magic depth. It is being able to change height without losing balance.
Choose a lead leg, then make both sides useful
Many wrestlers prefer one lead leg because it makes their best attack feel easier. That is normal. A right-handed athlete may like the left foot forward, but plenty of wrestlers do the opposite. The best starting choice is the side that lets you move, level change and penetrate with control, not the side someone picked for you once and never revisited.
Your preferred lead does not mean the other side gets ignored. An opponent who recognizes one stance can start circling toward the leg you do not want forward, forcing you to square up or reach. Spend some practice time moving with the opposite lead so a stance change feels like a tool instead of an emergency.
Start simple: take two 20-second rounds with your normal lead, then two 20-second rounds with the other lead. Move only. Do not rush into shots yet. When that starts to feel smoother, add level changes and one controlled penetration step on each side. The athlete who can switch without panicking has more ways to create a good angle.

Move your feet without crossing or bouncing
A strong stance is only useful if it survives movement. The basic rule is simple: move the foot in the direction you are going first, then bring the other foot back under you. Step forward with the lead foot first. Step backward with the trail foot first. Moving left? Let the left foot lead. Moving right? Let the right foot lead.
This keeps the feet underneath the hips instead of tangled together. Crossing your feet may feel fast for one second, but it leaves you late when an opponent changes direction or attacks. The same goes for bouncing tall between steps. Small, quiet steps keep your legs loaded enough to move again.
Keep the upper body honest while you move. Hands stay available, eyes stay up and the shoulders stay relaxed enough to react. If your feet are busy but your hands drop to your thighs, the stance is breaking. If the hands are active but the feet stop, you are likely to reach. Good stance and motion is not fancy. It is the ability to keep the whole body ready at the same time.
Use your hands to protect the space in front of you
Hands are part of a wrestling stance, not an accessory added after someone gets a collar tie. Keep them in a position where you can touch the shoulders, block an incoming head, post on a biceps or clear an opponent’s hand. They do not need to be rigid or stretched far away from your body. They need to be present.
A simple way to check this is to have a partner stand at a safe distance and slowly reach toward your lead shoulder. From stance, meet the reach with a light post or touch while keeping your feet underneath you. Reset and switch sides. The point is not to win a hand-fighting battle. It is to teach your hands and feet to answer together.
Once that feels clean, pair the hand response with one angle step. A post without feet can become a stiff arm. A step without hands can become a reach. Put them together, stay in position and you have the beginning of a useful defensive and offensive habit.
Change levels without folding at the waist
Many stance problems show up when a wrestler tries to attack. The feet stop, the chest folds toward the mat and the hands reach for legs from too far away. That is not a level change. It is a warning sign to the opponent.
A level change comes from the legs. From your stance, bend through the ankles, knees and hips while keeping the chest tall enough to see ahead. The hips lower, but they do not drift far behind the feet. Your hands stay ready. Then return to stance without popping up higher than where you started.
Practice five slow repetitions on each lead. Pause for a beat at the bottom. Ask whether you could still step, defend or touch a partner from that shape. If the answer is no, make it smaller and cleaner. The site’s wrestling drills guide has more detail on pairing that level change with an entry once the position is solid.

Build stance into a short daily drill block
Stance improves through frequent, focused repetitions. You do not need a forty-minute session or a hard live round to make progress. Ten minutes before practice, after a warm-up or at home in a clear space can be enough when the movements stay deliberate.
Two minutes: stance holds with movement
Set your preferred lead. Move forward, backward and side to side for 20 seconds, then reset for 10 seconds. Repeat on the other lead. Keep the feet under the hips and the hands in front.
Two minutes: mirror motion
With a partner, one athlete leads while the other matches at a safe distance. Work 20 seconds, switch roles and repeat. No touching yet. The job is to stay balanced while direction changes.
Two minutes: level changes
Do five controlled level changes on each lead, then add a small direction step after each one. Stay low through the legs and keep the eyes up.
Two minutes: hands with feet
Use light hand touch or a cooperative shoulder post. Meet the partner’s reach, take one angle step and reset. Keep contact controlled and do not turn the drill into live hand fighting.
Two minutes: entry rehearsal
Take three to five slow penetration steps per side toward a pad or a cooperative partner. Finish balanced, recover to stance and repeat only while the positions stay clean.
For a more complete pre-practice sequence, pair this block with the wrestling warm-up guide. If your stance falls apart because your legs and trunk cannot hold the position late in a session, the wrestling strength training guide gives you practical ways to build that support outside the mat room.
Fix the mistakes that make a stance easier to attack
The first mistake is putting too much weight on the lead leg. A lead leg that is heavy and far in front becomes easier to reach. Bring the stance back under you, let the hips stay loaded and keep the trail leg ready to move. You should be able to step either direction without needing a big reset.
The second is standing tall after every motion. This often happens when wrestlers think only about their feet. Instead, keep a soft bend in the knees and hips while you move. You do not have to stay at maximum depth, but you do need to stay ready to change level or react.
The third is reaching with the hands while the feet stay behind. If you are trying to touch someone from a long way out, take an angle step first. The hands can then reach from a stronger body position. A clean setup is usually quieter than a desperate reach, and it gives you a much better chance to return to stance if the first action does not work.
Finally, do not turn every stance drill into a conditioning test. If athletes are so tired that they start crossing their feet, folding forward or colliding with partners, the drill has stopped teaching stance. Keep the rounds short enough to protect the detail. The wrestling conditioning guide can help you add hard work without asking technical practice to do every job at once.
Make your stance work for the next exchange
A good stance does not win a match on its own. It gives you a better chance to use the skills you already have. It keeps a level change honest, makes a shot less predictable, gives your hands somewhere useful to start and helps you recover when the exchange does not go as planned.
That is the kind of daily work Hands Raised stands for. Get the base right, repeat the small details and let them show up when the round gets hard. Explore the Combat Sports Hats collection for a reminder of the work outside practice, and visit Athlete Spotlight to see athletes who keep choosing the next good rep.
Frequently asked questions
What is the best wrestling stance?
The best wrestling stance is one that lets you move, change levels, defend and attack without showing your opponent where you are stuck. Most wrestlers start with a balanced staggered stance, knees and hips bent, chest up, hands active and weight spread through the feet.
Which foot should be forward in wrestling?
Use the lead leg that makes your best attacks feel natural, then train both sides enough that a stance change does not make you feel lost. A right-handed wrestler may prefer the left foot forward, but there is no universal rule that replaces comfort, coaching and repeated practice.
How low should a wrestling stance be?
Get low enough that your legs can drive and you can react without bending at the waist. If your thighs burn before you can move or your chest drops toward the mat, the stance is probably too low. The right height changes slightly with distance, position and the opponent in front of you.
How can I improve my wrestling stance at home?
Practice short rounds of stance and motion in a clear space: move forward, backward and side to side without crossing your feet, then add controlled level changes. Shadow wrestling and penetration-step rehearsals can help too, but save partner contact, throws and live takedowns for a safe mat with qualified coaching.
Related posts
Wrestling training
Wrestling Drills: 10 Fundamentals for Better Practice
Ten wrestling drills that sharpen stance, movement, entries and hand fighting without turning practice into a random workout.
Read the guide →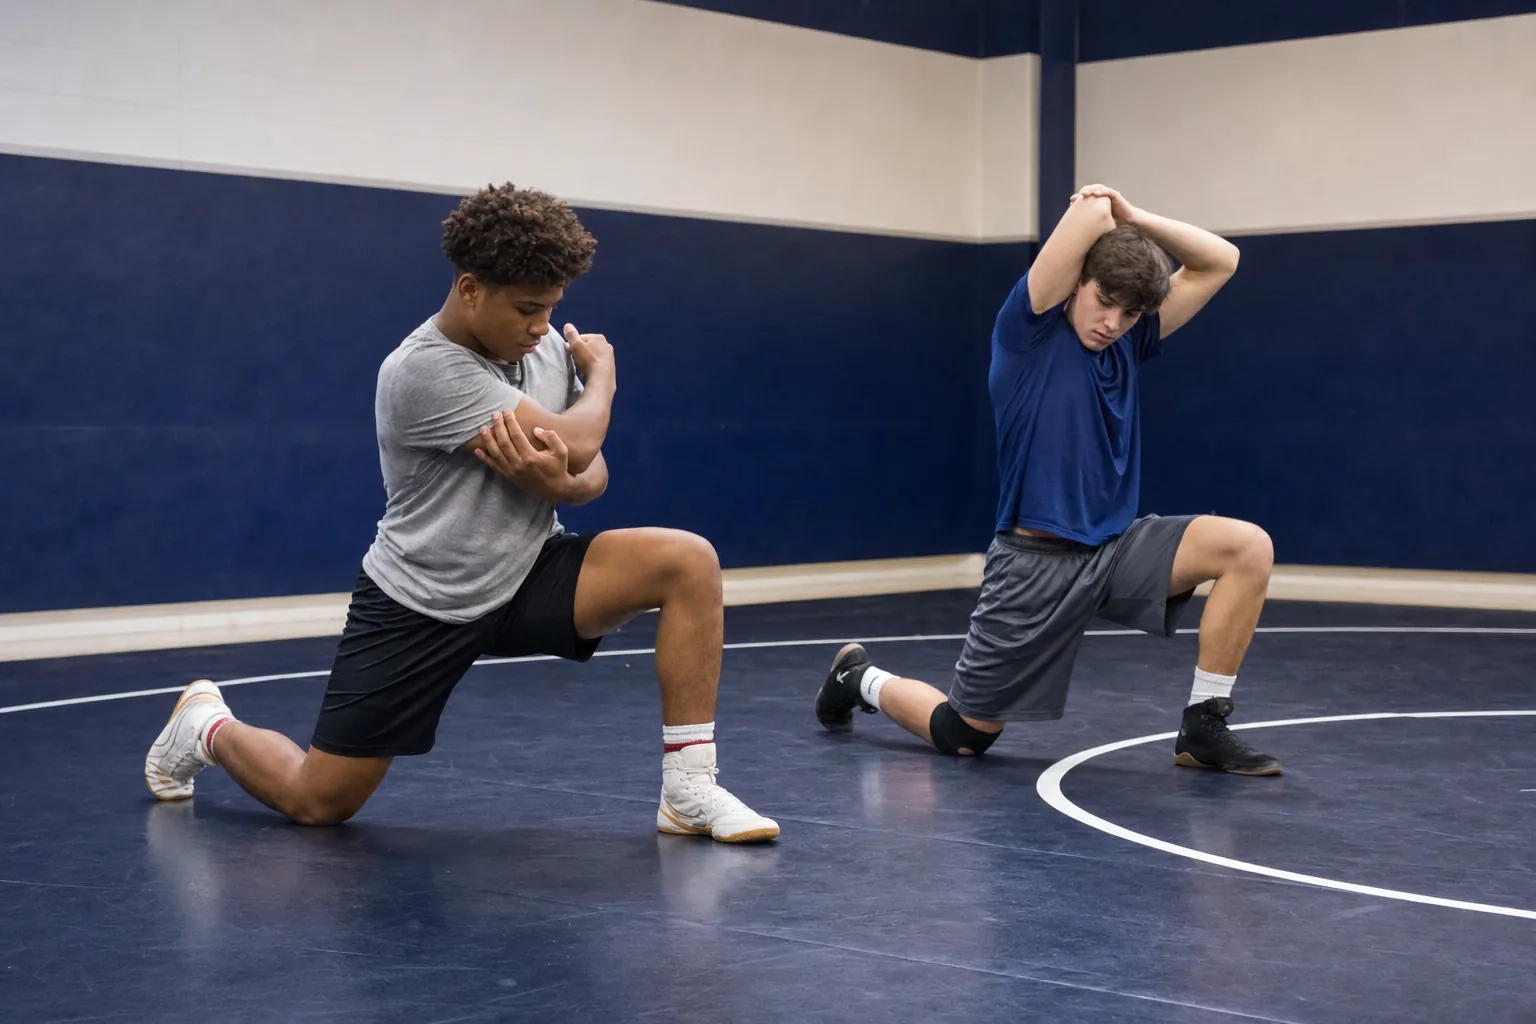
Wrestling training
Wrestling Warm-Up Drills: A Better Start to Practice
A practical wrestling warm-up built around movement, mobility and position work, so athletes can start practice ready instead of rushed.
Read the guide →